Making the Perfect Toastie
You know those posts that waffle for 8 paragraphs before actually telling you what it says in the title? Not today. We have made 50,000+ toasties, so let’s up your toastie game right here, right now with a toasted sandwich masterclass that will make your breville sing. I won’t even make you click into a new slide for each point, because there is a special circle in hell for those people.
1.Butter the Bread
Not oil, not marge, not non-dairy spread: butter. The bread is half of your sandwich, so make it worth the effort. Soften the butter and then spread evenly, right into the corners on the outside of the sandwich. You are lubricating and flavouring the contact surface. This is not a sandwich for discarding the crusts.
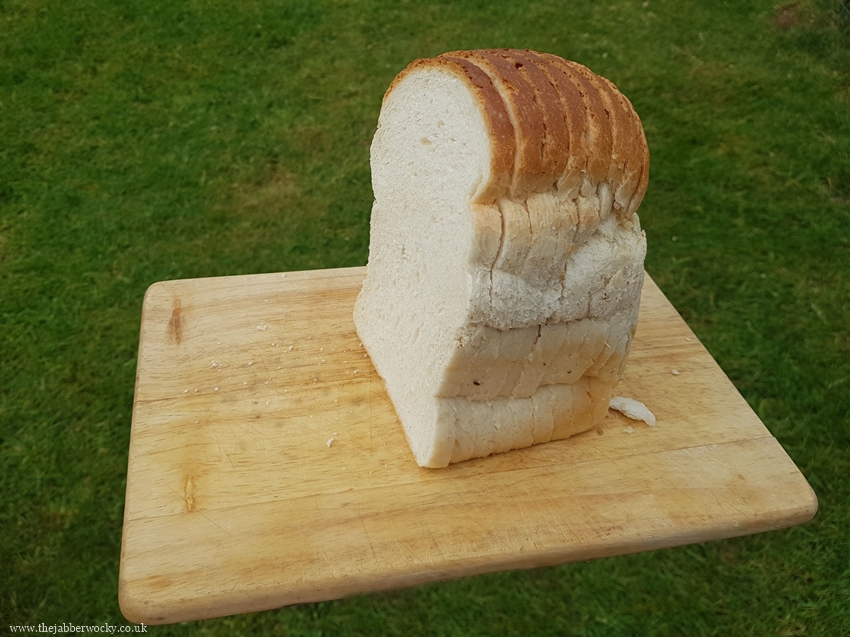
2. Buy better Bread
Obviously you will be using whatever bread you have lying around at home, because toasties are a late night snack or quick lunch, so therefore you probably won’t be investing in a special loaf, but even an in-store baked supermarket loaf is better than the dross that gets mass produced and doesn’t cook evenly. Ideally you want a loaf from a proper baker, medium sliced.
3. Organise The Cheese
Put the cheese next to the bread. In all things. This forms a barrier against wet ingredients soaking your loaf and places it closest to the heat, reducing melting times. A classic Jabberwocky tuna melt (highly commended at the British Sandwich Awards 2016) is sung as follows: butter, bread, Monterey jack cheese, tuna (mixed with spring onions, seasoning, free range mayonnaise, fresh dill and parmesan), Monterey jack, bread, butter.
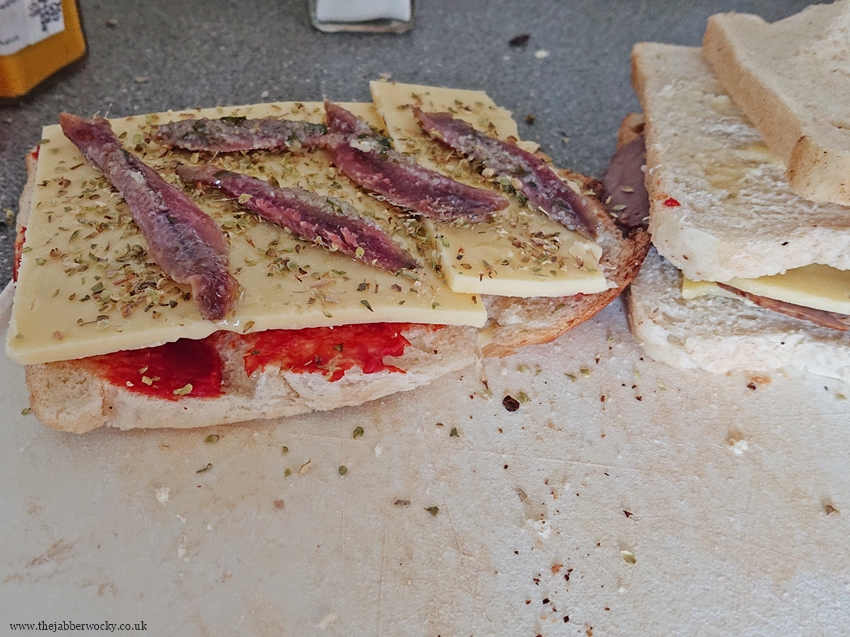
4. Balance Your Fillings
If you just want cheese, then that’s fine. You’re missing out, but I’m sure you can take some great pictures for the Gram and that’s what we all live for now, apparently. Or you could add squeeze of passata, a couple of garlic anchovies and a sprinkle of oregano. What’s important is that you don’t get carried away by the cheese into a world where all you’re trying to do is make a giant sandwich. Your perfect toastie ratio is 2:1:1 – twice as much bread as cheese (by weight), same ratio of cheese to other components (by flavour).
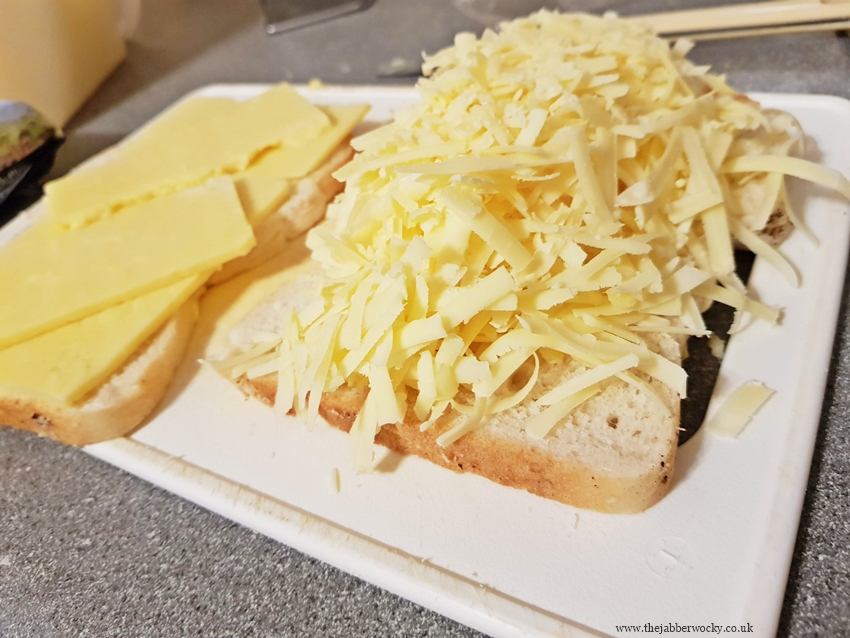
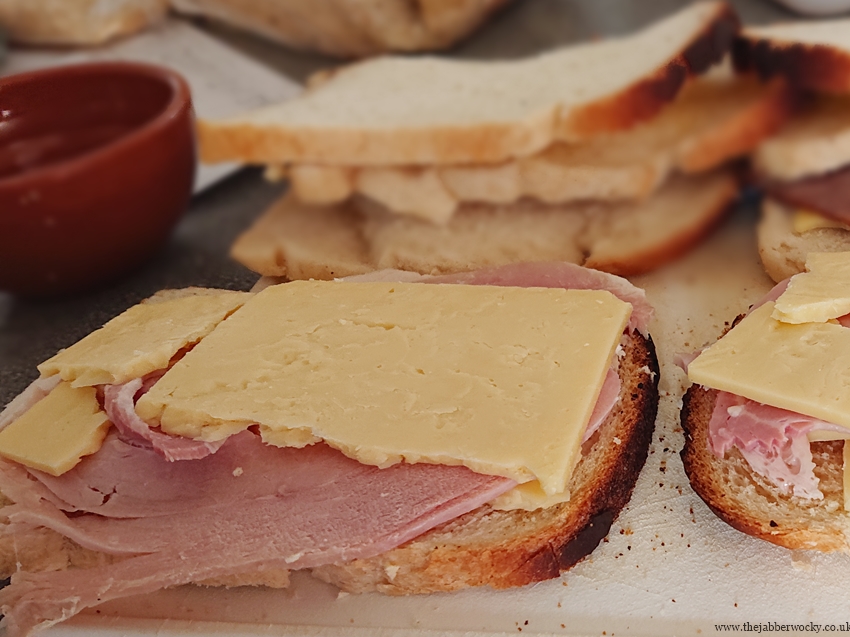
This is the same amount of cheese. Grated is for looks, sliced is for winners.
5. Use Sliced Cheese
This is a controversial one. Many of our professional toastie compatriots swear by grated: It has a lower melting point, and means you can pile on a giant handful of cheese during preparation. By weight, you have used about half as much as you would with sliced. Grated is all about looking huge. It falls out, goes everywhere and means that during assembly you are building a tower in the middle of your bread, rather than getting the ingredients right to the edge.
6. Melt the Cheese
Don’t fall at the last hurdle like so many before you. There is no world in which a person receives a half-melted toastie and breaks into a celebratory anything. If you are totally inept in the kitchen then toast your sandwich until the cheese starts to leak out. If the smoke alarm goes off before you reach this point, discard your toastie attempt and begin again, using more cheese.

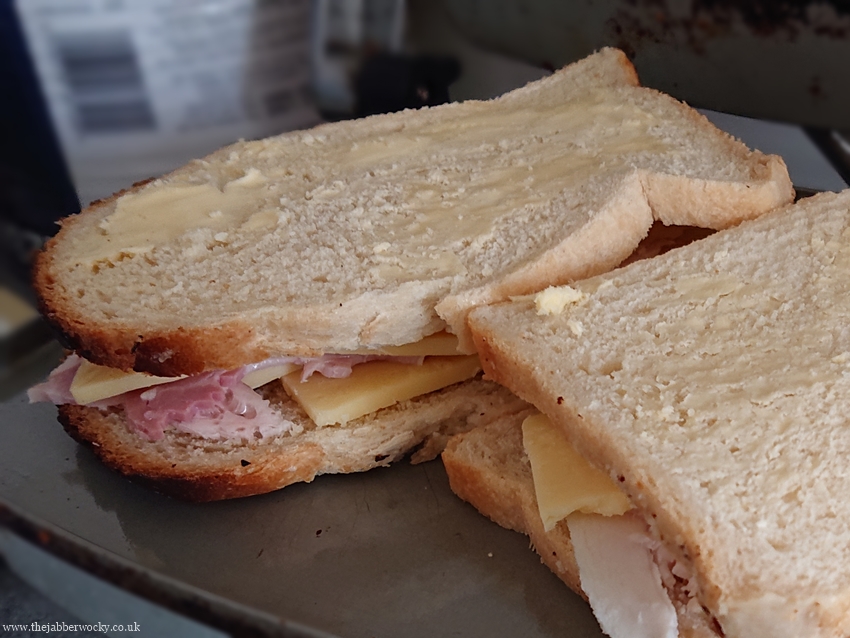
7. Enjoy it Your Way
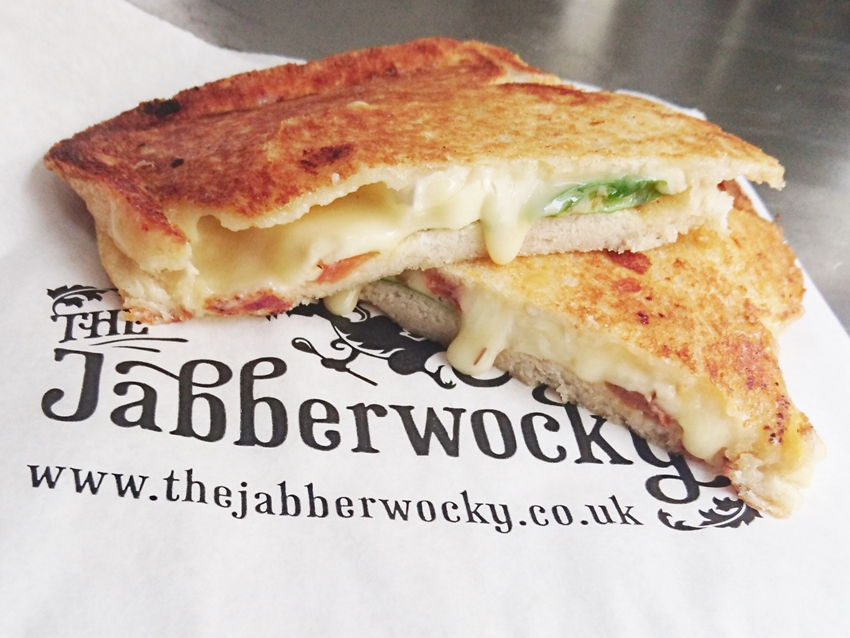
For best results, serve whole. Cutting in any way can cause leakage, and loss of fillings. Yes, if you want to post it on the internet, you probably need to cut it in half, but did you look at those poor sandwiches? Who can actually eat that? This is why we serve it like we do. But who am I to tell you how to live your life. Cut it in half, eat it with a knife and fork or make it car-shaped. You have aced the toasted sandwich masterclass, you should eat that toastie however you want.


Leave a Reply